Welltherm · knowledge & inspiration
Welltherm infrared panels for suspended ceilings
19 May 2026 · Welltherm Netherlands / HeatXL
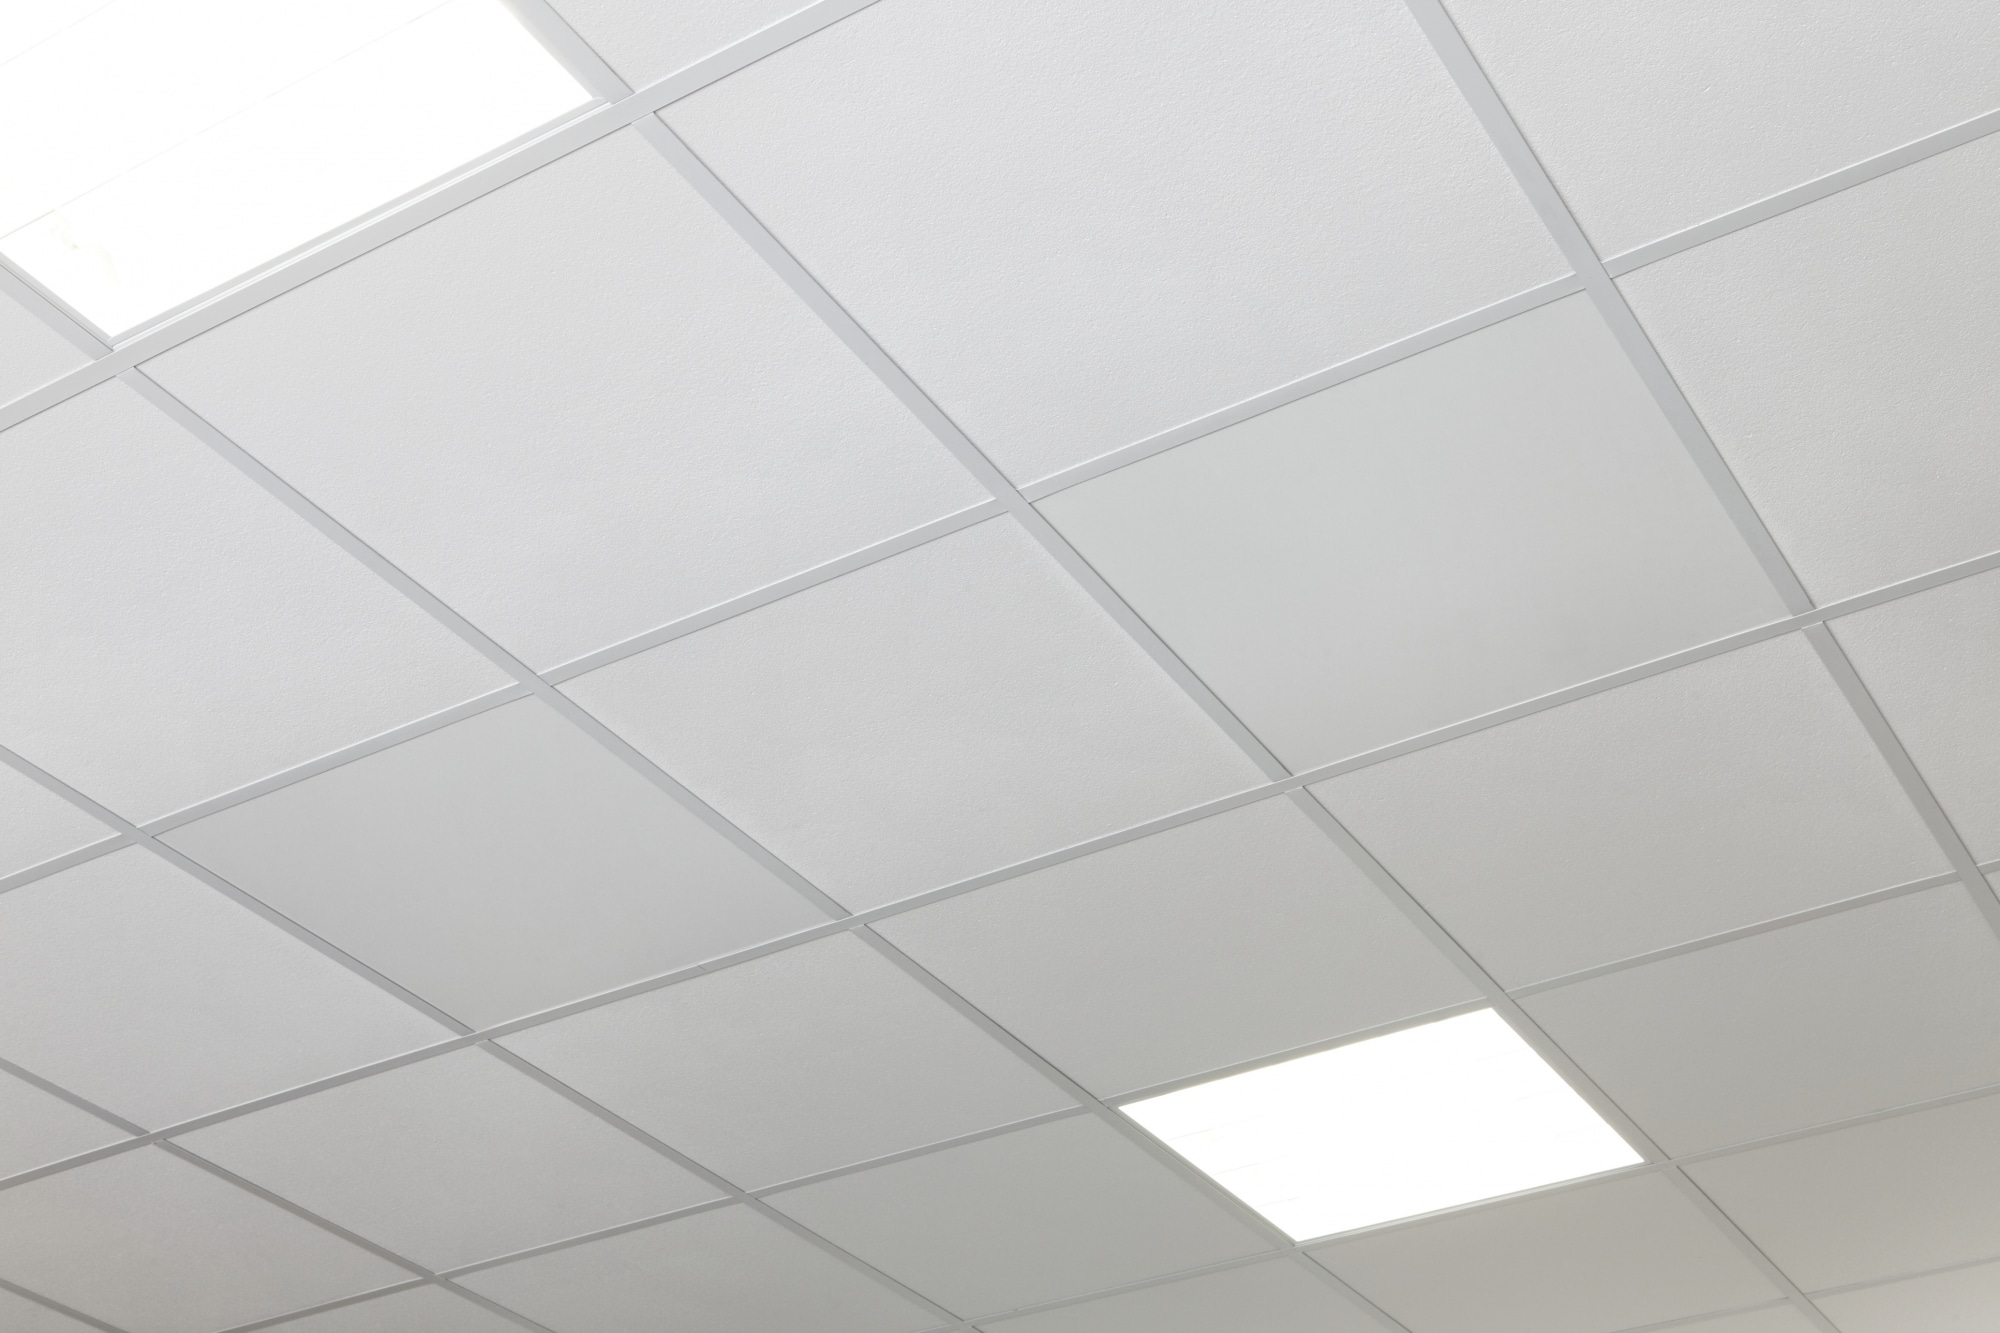
Welltherm infrared panels for suspended ceilings require a carefully considered ceiling plan. You want warmth where the space is used, a balanced ceiling appearance and mounting that suits the structure. We help you select output, dimensions and controls together and arrange a specific assessment of the panel, frame and supporting structure. This gives an office, consulting room or other interior a suitable heating solution.
Key points
- A ceiling plan connects workstations and heating requirements with the available mounting positions.
- A nominal grid size of 60 × 60 or 60 × 120 cm does not prove that a panel is suitable for simply laying into the grid.
- Check the exact panel dimensions and the compatibility of the frame, support and securing arrangement.
- Heating the entire room requires sufficient output based on heat loss.
- Connections, temperature control and access above the ceiling are coordinated in advance.
The suspended ceiling as part of the heating plan
A suspended ceiling consists of visible ceiling surfaces and a supporting and suspension structure behind them. This construction provides opportunities to organise technical services. For heating, however, the relevant structure and mounting combination must be assessed individually. A ceiling that supports lightweight tiles is not automatically suitable for supporting an electric heating panel.
We therefore begin with an overview of the room and ceiling. Where are the workstations, windows and doors, and which ceiling areas are technically available? Include existing lighting, ventilation and other services. This overview helps design a suitable distribution before the products are finally selected. It connects the available space above with the actual activities below.
What the panel heats
The electric panel heats its surface and emits radiant warmth to people and surfaces in the room. Heated surfaces subsequently transfer heat to their surroundings; the air is also affected. The panels do not replace ventilation. Comfortable use of the room therefore requires suitable heating together with appropriate ventilation and moisture management.
Read more
The first sensation of warmth and reaching the desired room temperature involve different timescales. The panel must warm up, and the room also responds to the heat supplied. A room that has been cold for a long period behaves differently from a space used every day. A suitable time programme can align heating with working hours, but requires sufficient capacity and the correct control components.
Keeping the ceiling appearance balanced
A ceiling solution can leave walls available for cupboards, treatment facilities or workstations. For its appearance, consider the panel dimensions and orientation in relation to the other ceiling surfaces. A balanced layout can follow the lines of lighting fixtures and the grid, provided the technical positioning and heating requirements remain appropriate. A neat visual alignment is a design choice within a suitable mounting arrangement.
Read more
In an existing ceiling, the available space above the visible tiles can be limited. Pipes, cables and ducts may be present. Therefore, do not rely solely on a photograph taken from below. The available space, supporting structure and access must be known. Where this information is missing, the installer can investigate before panels and frames are ordered.
A new or existing project
With a new ceiling, you can incorporate supports, openings and connection points early in the plan. This makes coordination with lighting and other services clearer. With an existing ceiling, the first step is a survey. Both situations can lead to a suitable solution, but require different preparation. The known structure and the model manuals provide the starting point.
Distinguishing nominal sizes from exact product dimensions
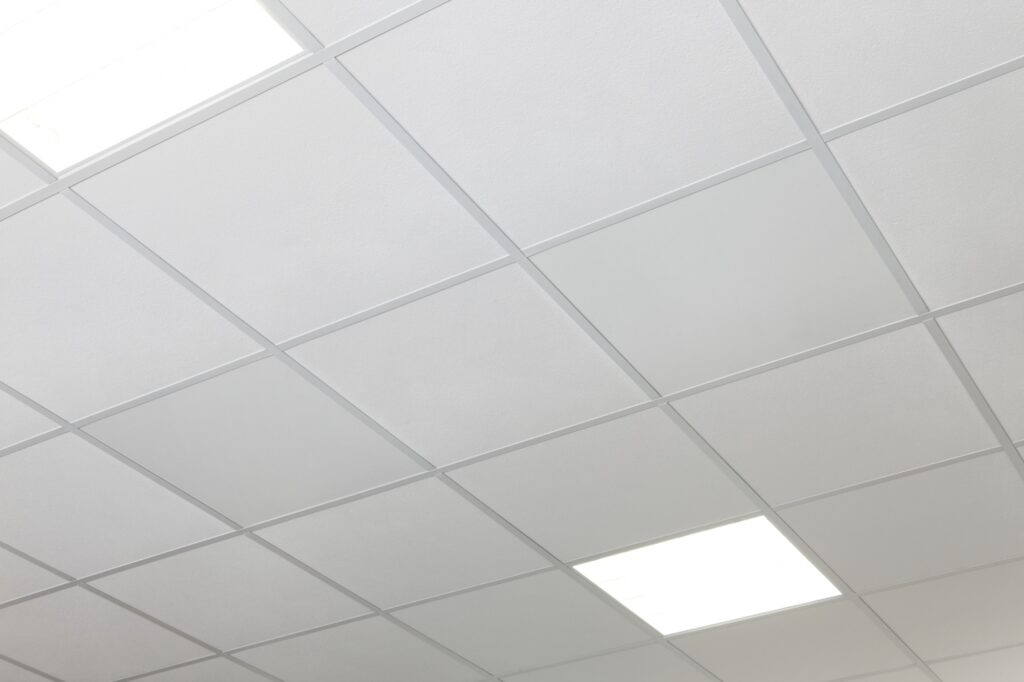
The terms 60 × 60 cm and 60 × 120 cm are frequently used for suspended ceilings to describe grid sections. These nominal sizes help with an initial sketch. They do not mean that every heating panel with a similar name has the same external dimensions. We therefore use the specific product details and prescribed mounting method for the final combination.
A panel does not become suitable for a grid simply because its length and width are approximately the same. The edge, fixing points, weight and selected supporting arrangement are part of the design. Do not lay the panel loosely into the grid without an approved combination. Have the exact application confirmed with the panel, frame, support and securing arrangement in accordance with their respective manuals.
Welltherm infrared panel for a 60×60 suspended ceiling
When looking for a Welltherm infrared panel for a 60×60 suspended ceiling, the square grid size is a useful starting point for the plan. Then compare possible panels by their actual external dimensions and technical data. For PB0330 in the white metal range, the catalogue specifies 59.2 × 59.2 × 1.7 cm, 330 watts and 7.8 kg. This is therefore not a panel measuring exactly 60.0 × 60.0 cm.
Other versions may have different external dimensions and weights. For glass, the prescribed fixings for the relevant mounting method must also be included. Do not select a frame based only on a general product photograph. The proposal must show the product codes of compatible components together with the confirmed mounting method. This turns the request for a 60×60 solution into a specific technical combination.
Welltherm 60×120 infrared panel for suspended ceilings
A Welltherm 60×120 infrared panel for suspended ceilings is selected in conjunction with the grid and the desired heat distribution. For example, the catalogue gives the white metal PB0710 external dimensions of 59.2 × 119.2 × 1.7 cm, an output of 710 watts and a weight of 14.0 kg. These details matter for supporting, handling and positioning the panel. A longer panel needs a different amount of space in the ceiling plan from a square version.
Do not automatically associate the larger size with a fixed room area. The required output follows from heat loss and usage. A wide panel may suit one layout, while two smaller suitable panels may align better with occupied areas in another room. Both options must be assessed for capacity, structure and controls. This gives the size a practical purpose rather than a general promise.
Welltherm 60×60 infrared panel for a suspended ceiling
For a Welltherm 60×60 infrared panel for a suspended ceiling, you can organise preparation using recognisable grid references on the ceiling sketch. Mark, for example, the proposed position above a work area, then note existing lighting, ventilation and the connection point alongside it. The grid reference describes where a panel is being considered; it does not replace an assessment of heat distribution and structure.
Assign a specific product entry to each position. For PB0330, record 59.2 × 59.2 cm, 330 watts and 7.8 kg. These dimensions are therefore 592 × 592 millimetres. Then add the confirmed mounting combination. EB060060 is a catalogue frame for the nominal 60×60 format, but panel compatibility, the opening, support and securing arrangement are established using the exact manuals. A grid size alone does not confirm load-bearing capacity.
Read more
Also show which information is still missing. There may be a duct above one grid section, or the suspension may not yet have been inspected there. Resolve these points before finalising that position. The ceiling plan then becomes more than a collection of square symbols: each location has an identifiable product, an assessed support and a planned connection. Keep this final combination with the project so that later changes can be checked specifically.
The frames in the catalogue
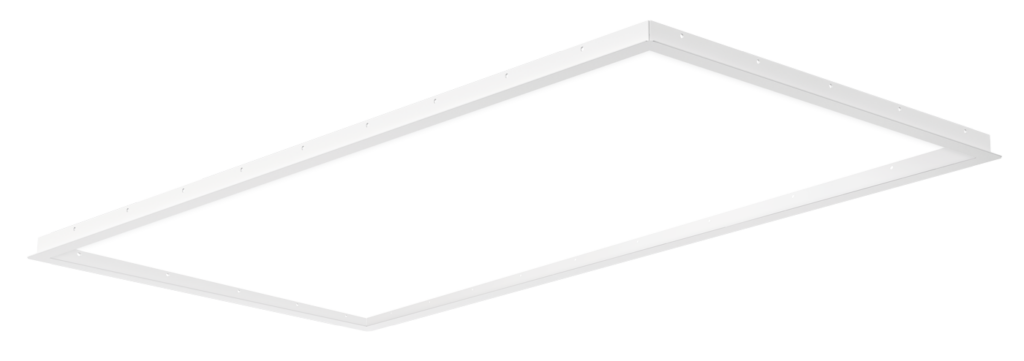
Our catalogue lists ceiling recess frames EB060060, EB090060, EB120060 and EB150060 for nominal heating formats of 60 × 60, 60 × 90, 60 × 120 and 60 × 150 cm respectively. The EB installation manual describes use with compatible metal panels and a prepared wooden supporting frame around the opening. The nominal panel size is not the external size of the EB frame: EB060060, for example, measures 62.6 × 62.6 × 2.95 cm. A similar size name therefore does not confirm that a panel and frame combination will fit your ceiling without further assessment.
For each project, establish which panel code belongs with which frame and how the support and securing arrangement will be provided. The required opening and clearance follow from the exact documentation. If the ceiling has specific fire resistance or acoustic requirements, the installing party must assess the implications of the selected mounting arrangement for the project. View our ceiling recess frames to discuss the options in detail.
Selecting capacity and distribution for each area of use
The room assessment comes before the number of grid sections you wish to fill. Determine whether the panels provide supplementary warmth or need to heat the entire room. For primary heating, their combined output must compensate for heat loss. External walls, windows, insulation, ventilation and the desired temperature influence this loss. A square metre of floor therefore does not have the same heating requirements in every building.
Also consider room height and where users are located. A high ceiling changes the distance between the heat source and the occupied area. A low ceiling likewise requires suitable product selection and mounting in accordance with the manual. There is no universal height figure that automatically makes every Welltherm panel a suitable solution for every office. The situation and model details must be considered together.
An office with fixed workstations
With fixed workstations, you can relate panel positions to the desk layout. Also draw tall cupboards, partitions and other obstacles. A panel in an available ceiling position may still be poorly located relative to where staff sit. A plan showing the work areas helps assess heat distribution and coordinate the available structure accordingly.
Read more
Individuals may experience warmth differently. Therefore, do not use a single seat as the sole reference for a shared office. Discuss the desired room temperature and assess the room as a whole, paying attention to the areas in use. Controls must suit actual usage, and heating must not be considered a substitute for fresh air. Ventilation remains important on cold days as well.
Meeting rooms and variable occupancy
A meeting room may be used in short blocks, while another room is occupied all day. This pattern can influence the programme. Indicate whether a room is used by appointment or must be available without notice. Suitable controls can support the selected times. However, capacity must also suit the conditions in which the room is warmed up.
Read more
If the layout changes regularly, identify which areas remain consistent. Moving a table or rearranging desks may make the original panel position less favourable. Keep potential changes in mind during design. Panels, supports and connections remain a fixed installation that must be technically reassessed following a later change.
Consulting rooms and reception areas
In a consulting room, users’ positions may be largely determined by the furnishings. Describe where people wait, sit or lie down and what equipment is present. A heating panel can form part of a comfort plan for the room, but is not offered as a health treatment. The building requirements and actual usage together provide the basis for product selection.
Read more
In a reception area, open doors and passageways can contribute to heat loss. A space with frequent traffic to and from outside may have a different heating load from an enclosed office. Record these usage conditions in your enquiry. This prevents a standard ceiling layout from obscuring the actual heating requirements. The right distribution suits the room as it is used every day.
Coordinating several panels
With several panels, we consider their combined output, relative positions and controls. Adding more panels to whichever grid sections happen to be available is not a heating design. The electrical installation must also accommodate the planned load. Have the panel arrangement for each room and any control zone documented. This makes it clear to the installing party which combination is used in each location.
Preparing the supporting structure, connections and access
For mounting above users, the structure must be demonstrably suitable for the selected load and fixing method. The visible ceiling tiles are only one part of the construction. The support, suspension and any separate fixings must suit the panel and frame. Have the installing party check these points before making openings or placing components in the ceiling.
The manuals for the selected products specify mounting requirements. Use the fixings and securing arrangements stated for the specific combination. An improvised solution based on approximately matching dimensions does not replace this documentation. If an existing structure is not sufficiently understood, further investigation is required. This makes the project plan specific and prevents the final product selection from relying on an untested assumption.
Assessing the building construction
Record the ceiling type, height, visible grid size and what is known about the supporting structure. Include information about other services already connected to the same structure. Lighting, ventilation and other loads may be relevant to the assessment. A product’s weight must be considered within the complete ceiling design, rather than compared only with an individual profile edge.
Read more
The same care applies to plasterboard and other lowered ceiling surfaces. The panel must be supported by a suitable structure. A frame provides a mounting and finishing option, but does not automatically make an unsuitable substrate suitable. The installing party documents how the complete assembly is fixed and secured. The exact arrangement should appear in the proposal and installation records.
Clearances from the model documentation
Space above and around the panel is determined in accordance with the requirements for the selected combination. We do not adopt a universal number of centimetres from a general grid description. Pipes, cables and materials must remain suitably positioned and must not obstruct mounting or prescribed use. The panel surface can also become hot.
Read more
Access is important too. Consider how a connection point, receiver or other component can remain accessible later in accordance with the instructions. A neat finish need not make technical maintenance or replacement unnecessarily difficult. Discuss this before closing or finishing the ceiling. A clear mounting plan shows how access is arranged without altering the support or securing arrangement.
Connections and the total electrical load
The panel connection and temperature controls are selected as a compatible combination. The precon connector is a connection point, not a complete thermostat. Check the required cable, any receiver and the controller for the selected products. With several panels, the total output is also considered. An existing lighting connection is not suitable for the heating load without assessment.
Have a competent party assess the electrical configuration and work. Include lighting when adding an LED frame: the frame has its own electrical output, power supply and controls. The complete arrangement must suit the installation and the required functions. precon connections and controls provide a starting point for product selection.
Thermostat and measurement position
A room thermostat measures temperature in a representative position in accordance with its own instructions. The ceiling is not automatically the correct location for the temperature sensor simply because the panels are mounted there. Direct sunlight, another heat source or an unsuitable corner can influence the reading. Discuss the measurement position and operation together with the panel plan. View our temperature controls for the available options.
Requesting a complete project proposal
A good proposal describes the room, the panels used and the mounting and control solution. Therefore, indicate whether the project involves one room or several. Send a floor plan, ceiling height, insulation information and several overview photographs. Include details of the suspended ceiling where available. Identify unknown points so they can be checked before installation.
HeatXL supports Welltherm in the Benelux with coordination of products and applications. Through a quotation request, you can have the options for your ceiling plan assessed. The price is provided for the selected configuration. This makes clear which panels, frames, connection components and controllers are included in the offer.
Running costs with clear assumptions
Electricity consumption depends on output and actual operating hours. A 710-watt panel uses 0.71 kWh during one full hour switched on. For several panels, add together the output used simultaneously. Controls can switch off intermittently when the desired temperature has been reached. An office’s available working hours are therefore not always equal to the full time the heating is switched on.
Read more
For a cost estimate, use your electricity tariff and a substantiated assumption about usage. Also include existing heating if it continues to operate. Targeted control can change consumption, but does not deliver a fixed saving for every building. Measurements from the period of use can make the calculation more accurate later. A transparent starting point is more useful than a general percentage.
Coordinating installation with building use
In an existing office or practice, you can coordinate installation planning with the times when the room is available. Record the work required on the ceiling and connections and which components must be specified in advance. The contractor can then determine a suitable sequence. This keeps it clear when the structure is checked and when the products are placed in their final positions.
Read more
For a larger project, also identify who records the final decisions. The user knows the workstations, the building manager often has construction information, and the installer assesses mounting and the electrical configuration. Bringing these details together in one ceiling plan reveals differences sooner. A moved desk or an existing duct can then be accounted for before components are permanently installed.
Agree which records remain available after completion. These include panel positions, panel and frame codes, control zones and the corresponding manuals. This need not involve an extensive handbook; a clearly organised folder containing final information is often practical enough. A future question about an accessory or a different layout can then be answered using the actual installation.
Finally, suitable controls deserve a brief explanation for everyday users. Show how the desired temperature and programme are selected and who manages the schedule. Unclear operation may lead different people to keep changing settings. With a clear starting point, the system aligns better with the agreed hours of use.
Reviewing the proposal technically
Check the panel code and exact dimensions for each ceiling position. Then review the frame, support and prescribed securing arrangement. Are the electrical connection and control zone clearly described? Have previously unknown structural details now been resolved? This allows you to align the proposal specifically with the conditions in which the installing party will work.
This documentation is valuable for future modifications too. A new table layout, an additional lighting frame or a different panel may require reassessment. Keep the final installation records and manuals. A product approximately the same size as the existing item does not necessarily fit the same combination. The confirmed product details remain the starting point.
Warranty and everyday use
Applicable panels have a five-year warranty subject to the conditions. Accessories may have different coverage; consult our warranty conditions. Correct mounting and following the operating instructions remain important. Do not cover panels, and maintain the prescribed clearances. A ceiling position is part of the installation, not a reason to overlook heat and fixings.
Read more
After installation, discuss how the controls are used and when the room is actually occupied. You can then adjust the programme without changing the technical design. A clear plan for capacity, structure and controls helps heat an office or other occupied space comfortably and straightforwardly with Welltherm.
From selection to a suitable proposal
A suitable solution for a suspended ceiling starts with exact product dimensions, an appropriate supporting structure and a heating plan for the room. We help you select panels, frames and controls as a specific combination. Request a proposal for Welltherm infrared panels for your suspended ceiling and include the room and ceiling details.
Frequently asked questions
Can I lay a panel loosely into the ceiling grid?
Determine the mounting method using the exact product documentation. A similar nominal size is insufficient. Use only a confirmed combination of panel, frame, supporting structure and securing arrangement in accordance with the relevant manuals.
Is a 60×60 panel always exactly 60 cm wide?
No. PB0330 from the white metal range, for example, measures 59.2 × 59.2 × 1.7 cm. Other products have different dimensions. Use the exact external dimensions when selecting the frame, opening and structure.
What does a 60×120 solution mean for my project?
The nominal size helps describe the ceiling layout. Panel code, exact dimensions, output and compatible mounting components are then determined. The size alone does not provide a fixed heating capacity for a particular office area.
Which recess frames are available?
The catalogue lists EB060060, EB090060, EB120060 and EB150060 for different nominal heating formats. Have compatibility with the selected panel and structure confirmed. These codes do not provide general permission for installation in every grid.
Can ceiling heating heat the entire room?
For primary heating, the combined output must compensate for heat loss. Positioning and controls must also suit the room. Insulation, windows, ventilation, height and usage form part of the assessment.
How much space must remain above the panel?
The required clearance follows from the manual for the specific panel and mounting combination. Do not apply one general figure to every suspended ceiling. Account for pipes, cables, supports and access to components.
Is a thermostat included as standard?
Check the selected configuration. The precon connector alone does not provide temperature control. The panel, receiver, connection components and suitable controller are coordinated together for the application and desired operation.
What information is required for a proposal?
Send a floor plan, dimensions, ceiling height and information about the grid and supporting structure. Include insulation, windows, hours of use and existing heating. Unknown details can be identified and investigated before installation.