Welltherm product image
WELLTHERM · CERAMIC DARK RADIANT HEATERS
HPGW white infrared dark radiant heater
Explore the available Welltherm range, prices and ordering options. Opens in a new tab.
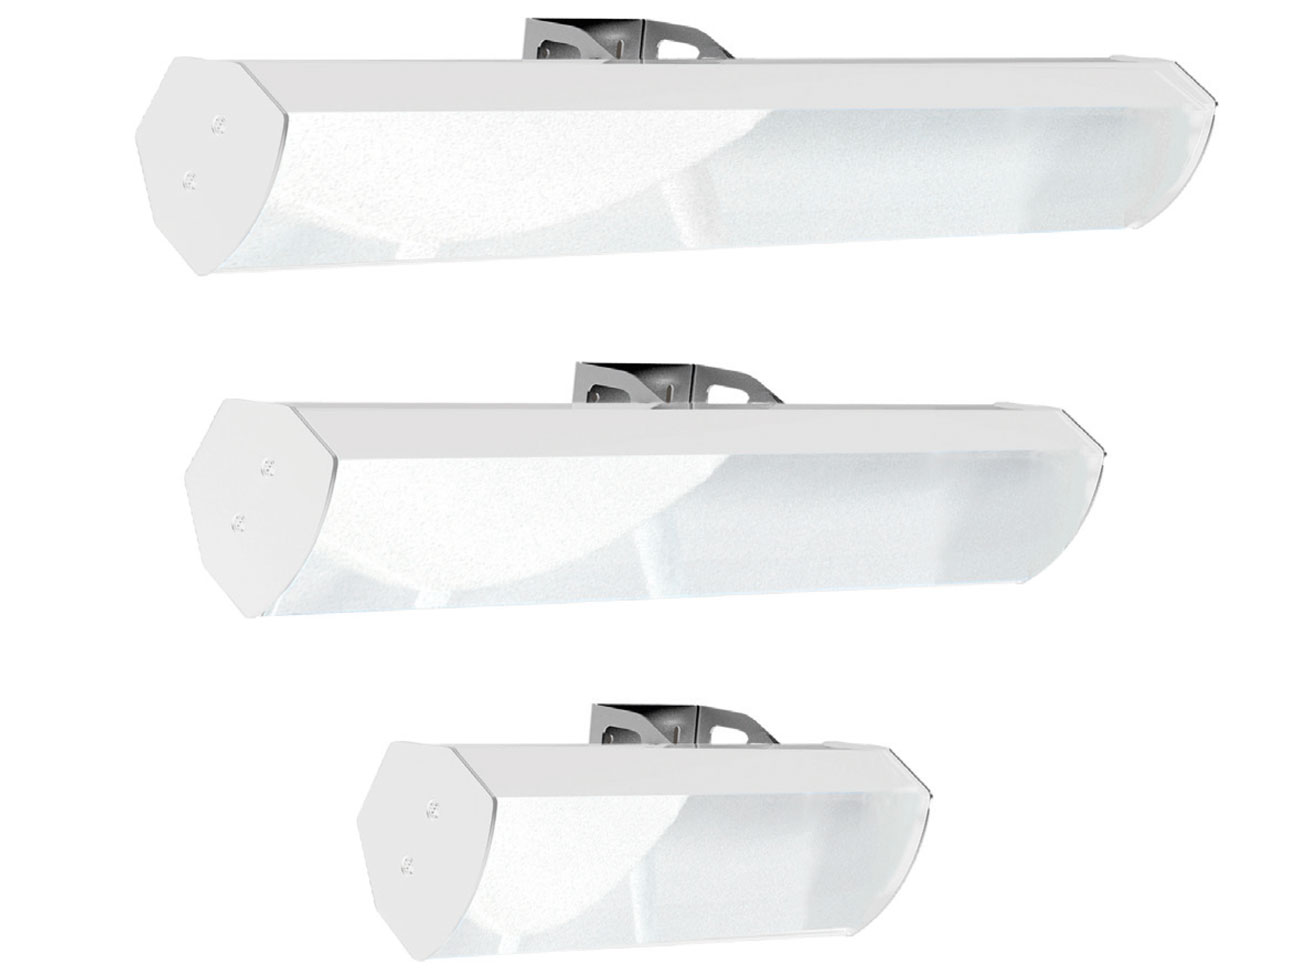
A Welltherm HPGW white infrared dark radiant heater provides targeted warmth with ceramic elements. Compare the three HP Glas models for your suitable veranda, occupied zone or indoor project.
- HP Glas · white
- 650, 1,300 or 1,950 watts
- Ceramic infrared radiant heater
A tailored proposal for your space, finish and installation.
Targeted warmth with a glass version
The HPGW range forms part of Welltherm HP dark radiant heaters. Ceramic elements provide heat without the conspicuous visible glow of some other heater types. This white glass version has a different front and dimensions from Klassik. You can use this range on a suitable veranda, sheltered half-open terrace or suitable indoor project. We advise you on output and positioning.
Output and controls for your location
HPGW versions of 650, 1,300 and 1,950 watts are listed. These heaters have an IPX4 protection rating and are suitable for wall and ceiling mounting from 1.80 metres with prescribed installation clearances. Actual perceived warmth also depends on wind, positioning and distance. Vida can make a suitable combination adjustable; temperature controls must also be suitable for an intended indoor application.
HPGW white infrared dark radiant heater with a refined glass front
HPGW is the white glass version within Welltherm’s ceramic HP dark radiant heaters. This range provides a distinct front choice for a suitable veranda, sheltered half-open occupied position or suitable indoor project. Assess the version as a ceramic heater: it is not the same product as a flat white glass infrared wall panel. The article number, appliance shape and installation conditions make that distinction concrete. Anyone attracted to a white glass front can compare the three HPGW outputs here and have suitable installation prepared.
View the appliance in relation to your space’s visible lines. On a light veranda, the white glass variant can match window frames and ceiling finishes. Against a contrasting background, it becomes more prominent. A photo from the table or seating area helps assess the effect. The location must also suit fixings and heat distribution. We therefore relate a preference for the glass front to the available position and intended usage instead of selecting the version solely from an isolated product image.
White glass and white Klassik side by side
HPGW and HPKW both offer a white variant but have different fronts, dimensions and weights. At 650 watts, HPGW weighs 1.9 kilograms versus 1.7 kilograms for HPKW. At 1,300 watts, this is 3.3 versus 3.0 kilograms; at 1,950 watts, 4.6 versus 4.0 kilograms. Glass model lengths are also slightly greater. These are specific differences for an existing fixing location. A preference for white does not make the two products interchangeable without checks or turn their installation conditions into one universal mounting model.
View the version on the HP Klassik white page. Compare items with the output suitable for your zone first. Shape and finish differences then become clearer. If you prefer the glass front, we select the suitable HPGW code and required components. Colour is part of design, not proof of lower electricity consumption or higher heat output at the same wattage. You can thus discuss visual preference without attaching an unproven benefit.
Three outputs with their own appliance dimensions
The compact HPGW0650 has one 650-watt ceramic element, measures 26.7 by 9.5 by 17.1 centimetres and weighs 1.9 kilograms. HPGW1300 combines two elements for 1,300 watts and measures 51.7 by 9.5 by 17.1 centimetres at 3.3 kilograms. The highest capacity is HPGW1950: three 650-watt elements, totalling 1,950 watts, dimensions of 76.7 by 9.5 by 17.1 centimetres and weight of 4.6 kilograms. The full code therefore identifies both version and output.
A table for several people can create different requirements from a narrow seating area. The occupied zone’s width, distance to the appliance and shelter affect the suitable choice. Send these details instead of only floor area. We can then assess which output and arrangement support usage. For several appliances, we consider distribution and total installed output. The model table helps comparison but does not give a fixed heated area applying to every veranda or indoor room.
A quiet seating area beneath a light canopy
Suppose you mainly use the canopy for reading or a fixed table arrangement. It is then useful to take that zone as the starting point for heat direction. Make a sketch with chairs, table and available height. Include lighting positions and any speakers or other ceiling components. A heater can have a suitable place in that design but should not simply occupy the first free strip. Installation conditions and desired user positioning together determine a usable location.
If the layout changes regularly, describe the main variants. A compact seating area in spring and large table in summer may create different usage areas. Sliding walls or curtains alternately open and closed also affect the environment. This requires assessment of actual usage situations. We can prepare the plan so you know which zone the proposed heaters should serve. Perceived warmth remains dependent on wind, positioning, distance and heat setting, so a clear description of your place helps more than a general comfort promise.
Glass front and dark radiation without a lighting function
The ceramic HP range provides warmth without the conspicuous visible glow found in some other heater categories. The white glass front belongs to the version and does not make the appliance a light source. Lighting must therefore be planned separately. This is practical if you want to retain an understated veranda atmosphere with indirect light. Consider where light fittings and heater can safely sit together. Required clearances form part of this assessment so ceiling appearance and correct installation match.
After switching on, the heater has a warm-up phase. Its glass front and output do not provide a fixed time at which every space becomes comfortable. An indoor room cold for a long time must itself warm up, while sheltered seating can create a different experience. In an enquiry, describe when you use the system and how long you usually spend there. Realistic usage details help select desired controls and capacity. The heater provides the heating part of the solution; shelter, lighting and layout retain their own roles alongside it.
Mounting height and suitable fixings
HPGW has a minimum mounting height of 1.80 metres. The HP manual generally recommends 2.3 to 2.5 metres. The range can be wall or ceiling mounted with suitable fixings. The catalogue lists ceiling bracket 14214 for the HP product group. Have confirmation that the desired combination and substrate suit your item. A beam or wall photo helps preparation, but the installing party assesses the structure and fixings. Appliance dimensions alone do not determine the space the complete installation needs.
Aim the heater with the prescribed bracket within the permitted angle. The mounting wall must not be directly irradiated. HP instructions specify at least 30 centimetres to the ceiling and 5 centimetres to adjacent walls; combustible materials such as curtains and textiles must stay at least one metre away. Include moving components, such as shading extended later. Use these conditions specifically for the HP version. The same figures do not automatically apply to HPPW1950, HPIW1950 or other Welltherm ceiling products with different construction and mounting configurations.
Prepare the connection at the chosen location
HPGW has a 185-centimetre cable with open ends. Have the electrical connection made professionally. Determine supply and control component positions beforehand so the cable route suits the available length and mounting position. The appliance is therefore not a precon-connector panel or a standard socket product with a fitted plug. State existing connections in your enquiry. The installer assesses the whole electrical provision, including supply for several appliances when serving a larger occupied zone.
Visible wiring also matters for a neat installation beneath a light canopy. Define the desired route and connection component positions before finishing. Technical requirements remain decisive; a cable cannot be concealed solely for aesthetics. During renovation, include the heater with other electrical components in the plan. We can include required controls in the proposal and clarify which components belong to the chosen HPGW arrangement. The appropriately qualified party makes the connection.
Choose controls based on heating use
To adjust the heat setting at a seated position, Vida may be an option for a compatible combination. Available controls, remote control or app function depend on the selected Vida product. Therefore link these options to the chosen configuration. Information about Vida for infrared heaters helps the discussion. Also specify whether you want to operate heaters together or use different zones separately. We can then link the requested function to suitable components.
For indoor space heating, suitable temperature controls belong to the system. A power dimmer does not automatically take over that function. Desired usage times and the existing installation help select controls. Note codes of current thermostats and receivers when retaining components. We can then assess what fits the new HPGW arrangement. Operation becomes a clear part of the solution rather than an unsupported assumption that every white glass heater independently measures a space or operates through an app.
Protection rating and careful use
The HPGW range has IPX4. However, assess the desired environment together with positioning, power and wiring. The protection rating does not give general permission for every outdoor location. The HP manual excludes the appliance, connection point and wiring from bathroom zones 0, 1 and 2. Therefore do not simply use this heater for a bathroom because of its glass version or IP designation. For a veranda project, send photos of open sides and the roof edge to clarify conditions. The installer checks the complete arrangement before mounting.
Follow the version’s instructions during use and maintenance. The appliance becomes warm; let it cool after switching off before work. Maintain required clearances when moving furniture or shading. Keep model details, manual and control information together. If the canopy is enclosed or a seated position moved later, these details support focused advice again. A changed layout can create different expectations for heat distribution. This keeps the installation assessed for the actual usage you intend.
A suitable enquiry for HP Glas white
For a proposal, make a simple floor plan with the desired occupied zone and available mounting points. State height, shelter, usage times and existing power. Add photos from the seated position and of the structure. If you already prefer HPGW0650, HPGW1300 or HPGW1950, include the code. The desired white glass version is then clear and capacity can be assessed for your situation. Also discuss who performs installation and whether additional fixings or control components are required for the planned system.
Use a quotation request to send details to HeatXL. The price follows from the chosen model, heater quantity and complete configuration with compatible components. You can then compare proposals by what is actually included. Anyone assessing a dark glass front can also view HP Glas black. Choosing HPGW remains a combination of desired white appearance and a technically suitable arrangement matched to where you want targeted warmth.
Compare two white glass models purposefully
If undecided between HPGW1300 and HPGW1950, compare more than the longer housing. Consider intended use, distance to seating and available mounting position alongside both models. The three-element version also requires more installed power than the two-element version. Include that difference in the electrical plan. State whether you have one fixed seating group or a broader zone with changing occupancy. Product selection can then be assessed based on that function.
If you prefer the glass front for both models, appearance is already clear; the remaining choice chiefly concerns suitable capacity, distribution and the complete installation with appropriate controls.
Current range
Welltherm HP Glas White
Targeted infrared warmth for a suitable veranda, sheltered half-open terrace or indoor project. We help select output and controls.
| Article | Version | Power output | Dimensions | Weight | Quotation |
|---|---|---|---|---|---|
| HPGW1950 | Ceramic dark radiant heater | 1950 W | 76,7 × 9,5 × 17,1 cm | 4,6 kg | Choose HPGW1950 |
| HPGW1300 | Ceramic dark radiant heater | 1300 W | 51,7 × 9,5 × 17,1 cm | 3,3 kg | Choose HPGW1300 |
| HPGW0650 | Ceramic dark radiant heater | 650 W | 26,7 × 9,5 × 17,1 cm | 1,9 kg | Choose HPGW0650 |
- Protection rating
- IPX4
- Mounting height
- From 1.80 m; follow the installation clearances
- Technology
- Ceramic elements
Connection and application: 185 cm cable with open cable ends; controls appropriate to the application.
Choose a suitable mounting position for HPGW
For HPGW, the HP manual generally recommends mounting at 2.3 to 2.5 metres; 1.80 metres is the minimum. Maintain at least 30 centimetres to the ceiling and 5 centimetres to adjacent walls. Aim the heater towards the occupied zone with the prescribed bracket and permitted angle. The mounting wall must not be directly irradiated. Keep curtains, textiles and other combustible materials at least one metre away.
A sheltered, half-open veranda needs a different assessment from a completely open location with wind and rain. IPX4 does not give general permission for every outdoor position. The HP manual excludes the appliance, connection point and wiring from bathroom zones 0, 1 and 2. Have open cable ends connected professionally. Suitable temperature controls are required for space heating; a Vida dimmer controls the heat setting and does not replace those room controls.
Documentation for your version
Match the product information and installation instructions to your chosen article number. On the downloads page, we give Dutch documents priority where available.
Questions about the HPGW white infrared dark radiant heater
Which HP version should I choose?
Choose output and mounting position first. Then compare HPGW with the other Klassik and glass versions by colour, size and weight. Items have separate tables; have compatibility with a dimmer or thermostat assessed.
What do you need for a quotation?
Send the desired HPGW code, a sketch of the occupied zone and photos of the mounting position. State height, open sides, usage times, available power and desired controls. We can then assess output, positioning and components together.
How much does this Welltherm solution cost?
The price of an HPGW arrangement follows from chosen output, heater quantity, fixings and suitable control components. Request a quotation with your location details and desired version so the proposed configuration is clear.
Explore these options too
Ceramic dark radiant heaters
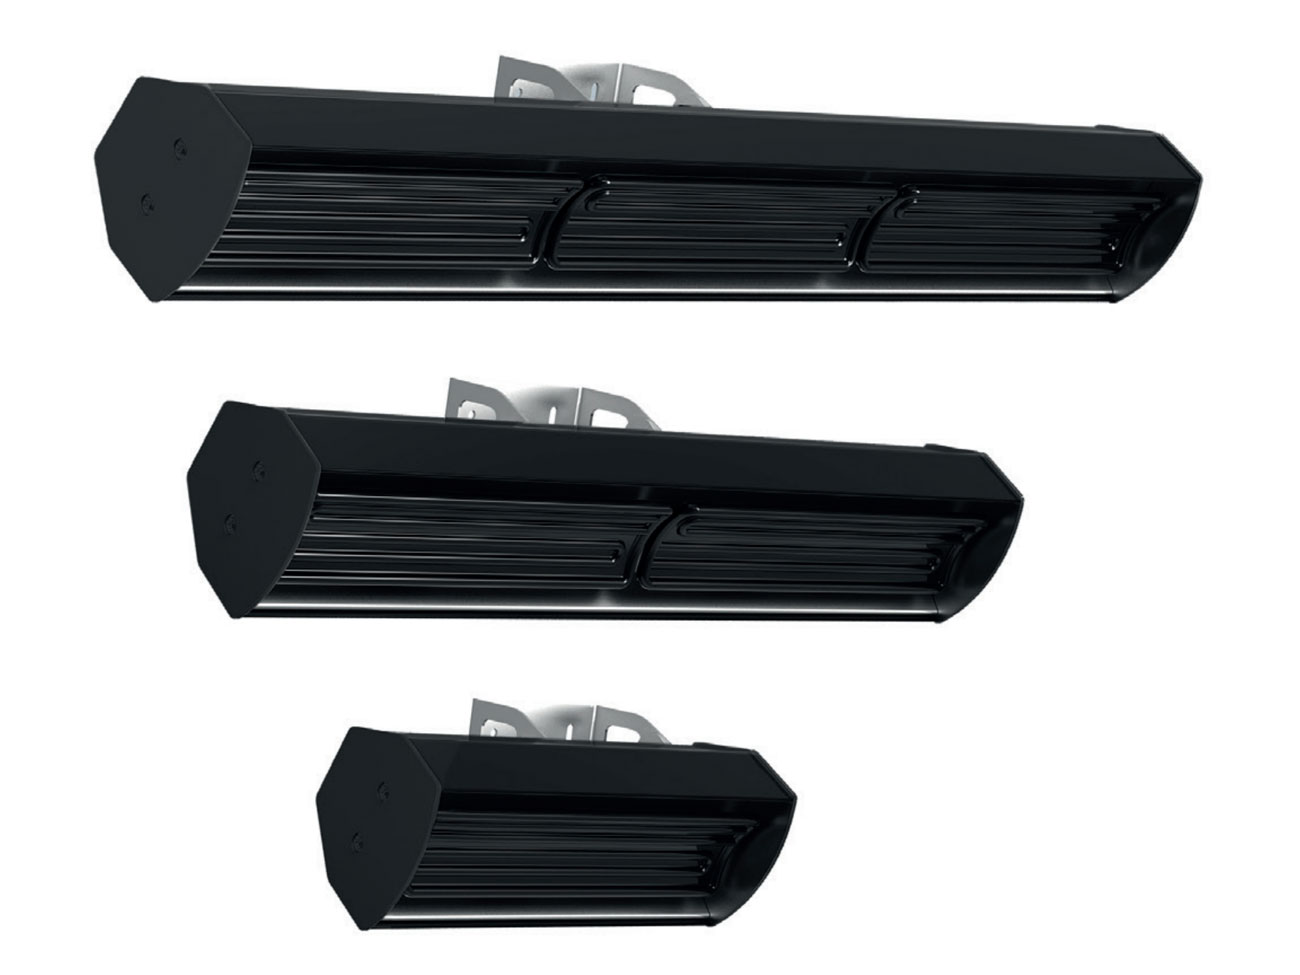
HPKS black infrared dark radiant heater
The Welltherm HP Klassik in black provides targeted infrared warmth with ceramic elements. Choose the HPKS version that suits your terrace, veranda or suitable project space.
View finish ↗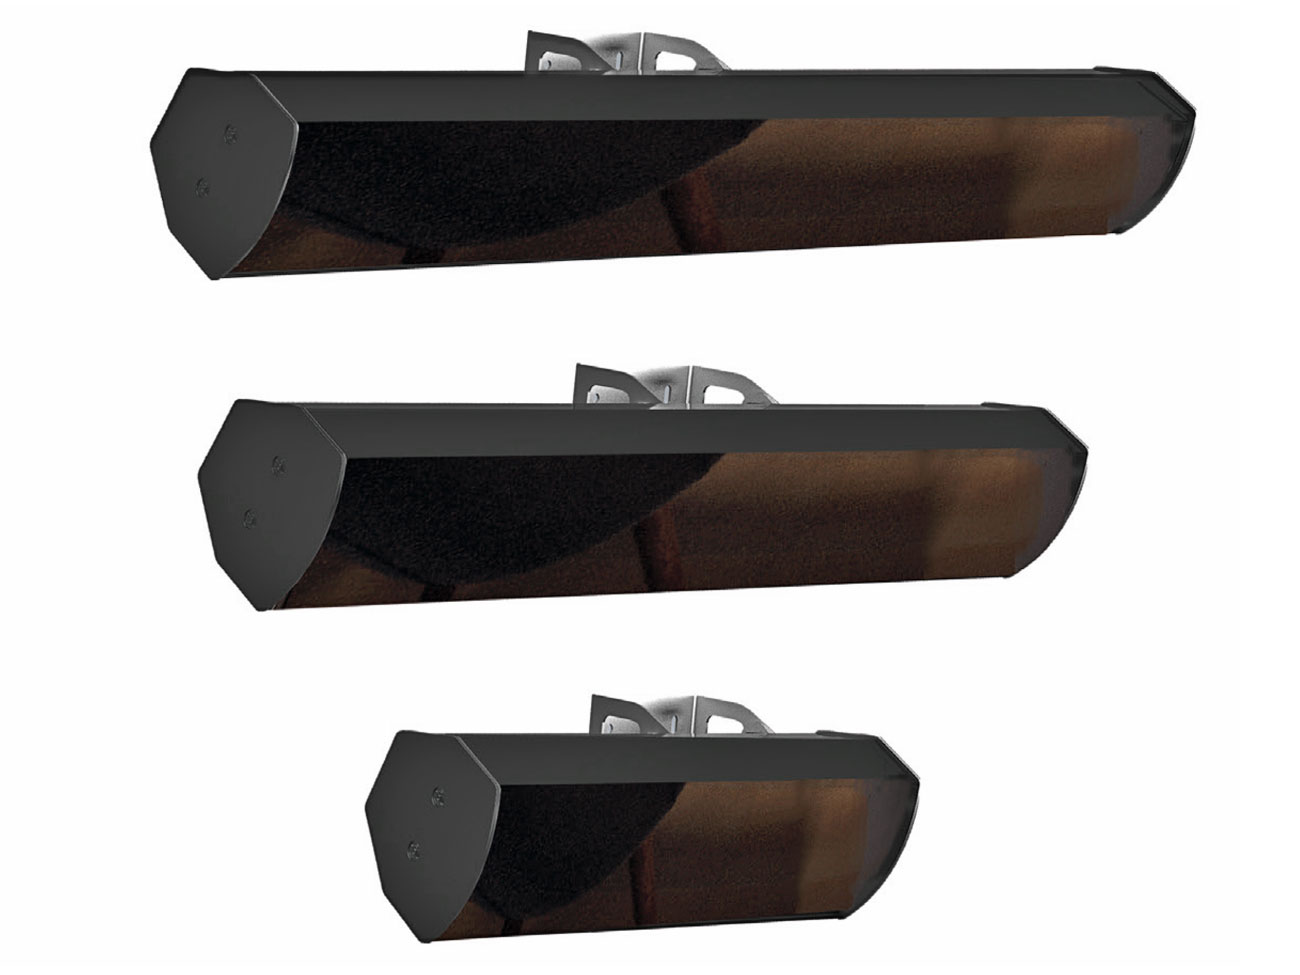
Ceramic dark radiant heaters
HPGS black infrared dark radiant heater
The Welltherm HP Glas in black provides targeted infrared warmth with ceramic elements. Choose the HPGS version that suits your terrace, veranda or suitable project space.
View finish ↗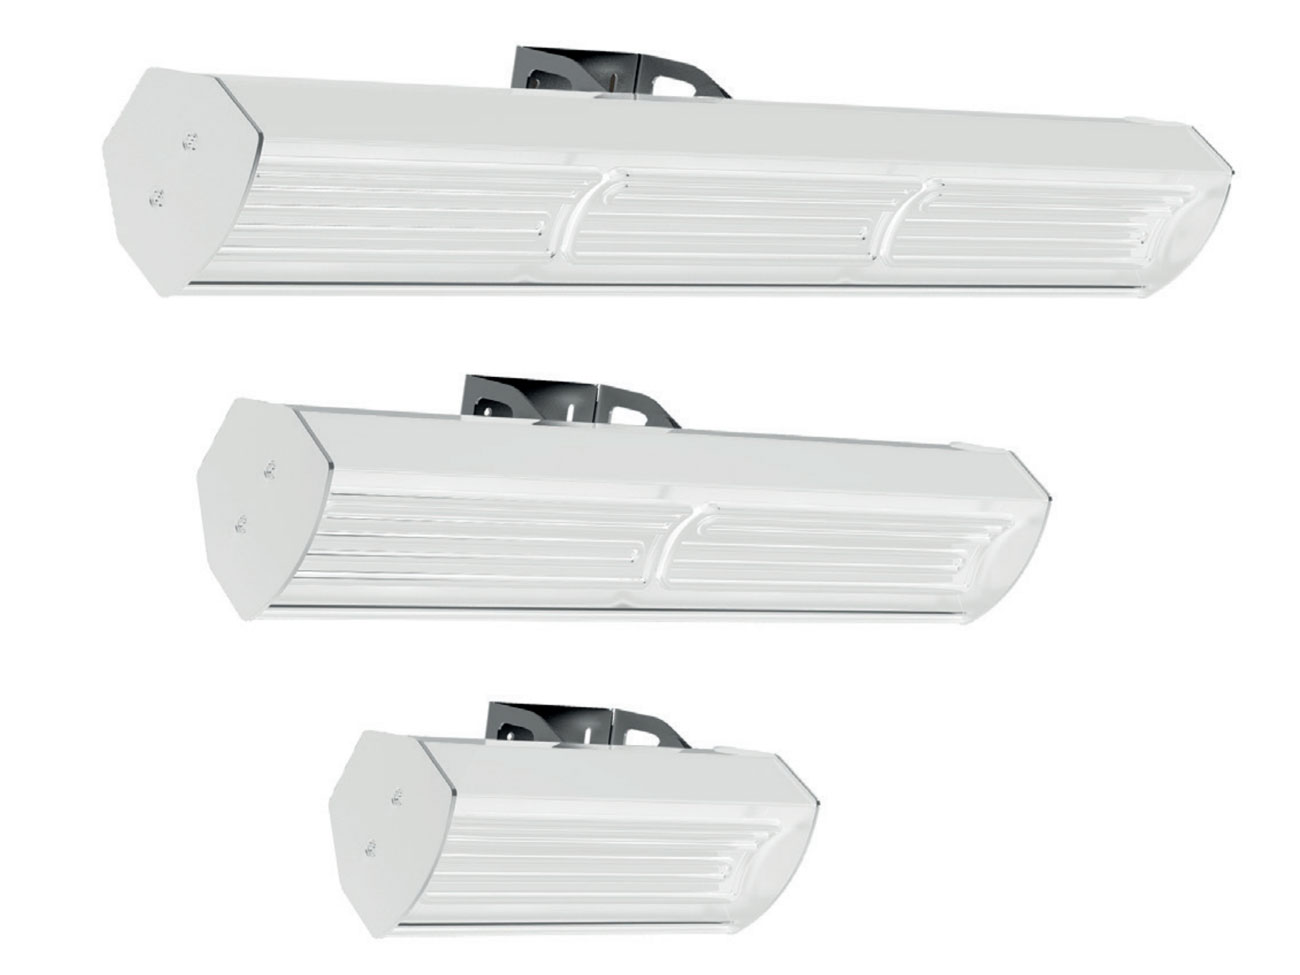
Ceramic dark radiant heaters
HPKW white infrared dark radiant heater
The Welltherm HP Klassik in white provides targeted infrared warmth with ceramic elements. Choose the HPKW version that suits your terrace, veranda or suitable project space.
View finish ↗From product choice to a tailored proposal
Tell us which space you want to heat. You receive advice on the suitable version, output and installation, with a quotation for your situation. To prepare, you can prepare radiant warmth for a veranda, or view suitable Vida controls.